podplus project 5
did quite a bit of work today and last night, lengthened a few wires to allow me to re-arrange the parts, as well as some drilling.
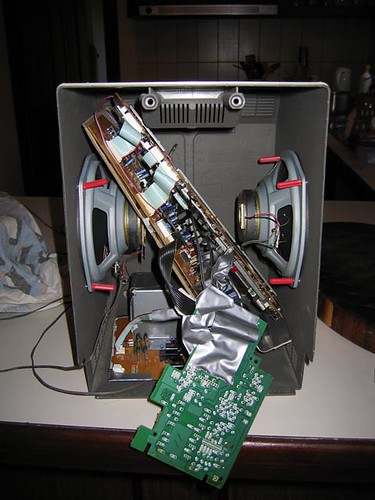
this is now how i'm going to arrange things, the power supply is now on the bottom which is much better than where it was before, supported by one of the other pcbs, on an angle, not firmly attached to anything. i used a longer ribbon cable so it'll reach to there. the pcb dangling down at the front is the control, with the volume knob and graphic equalizer.
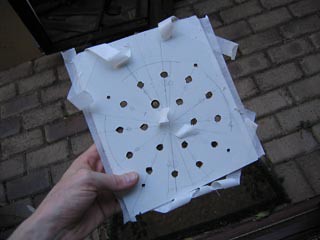
i drew up and drilled a template on a bit of board that i bought for the front panel,
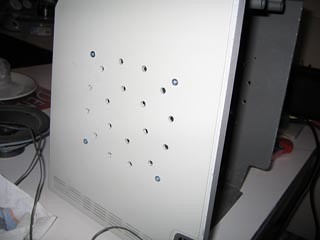
then drilled the holes for the speakers on the side of the mac.
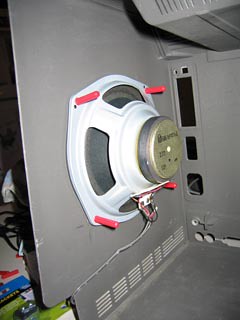
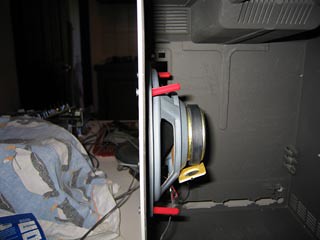
fixed the speakers on the inside.
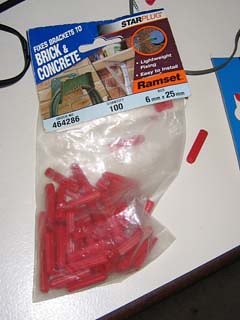
the screws for the speakers are held on on the inside by these:
all i have to do now is make the front panel (with holes for volume knob, power button and graphic equalizer), connect up all the internal wires, stick the plugs and ports on the back, connect up the power switch and plug that came with the plus, and it's finished! might be able to finish it tomorrow!

this is now how i'm going to arrange things, the power supply is now on the bottom which is much better than where it was before, supported by one of the other pcbs, on an angle, not firmly attached to anything. i used a longer ribbon cable so it'll reach to there. the pcb dangling down at the front is the control, with the volume knob and graphic equalizer.

i drew up and drilled a template on a bit of board that i bought for the front panel,

then drilled the holes for the speakers on the side of the mac.


fixed the speakers on the inside.
the screws for the speakers are held on on the inside by these:

all i have to do now is make the front panel (with holes for volume knob, power button and graphic equalizer), connect up all the internal wires, stick the plugs and ports on the back, connect up the power switch and plug that came with the plus, and it's finished! might be able to finish it tomorrow!


0 Comments:
Post a Comment
<< Home